

By Murphy Garcia, Reporter
Seventh grader Jake Hummel makes paracord bracelets during his free time.
It’s a skill he taught himself by watching a couple of YouTube videos which inspired him to make his own.
Hummel made them for his Boy Scout Troop this summer, and now he’s selling them on his own.
“It’s a pretty easy process once you get the hang of it,” Hummel said.
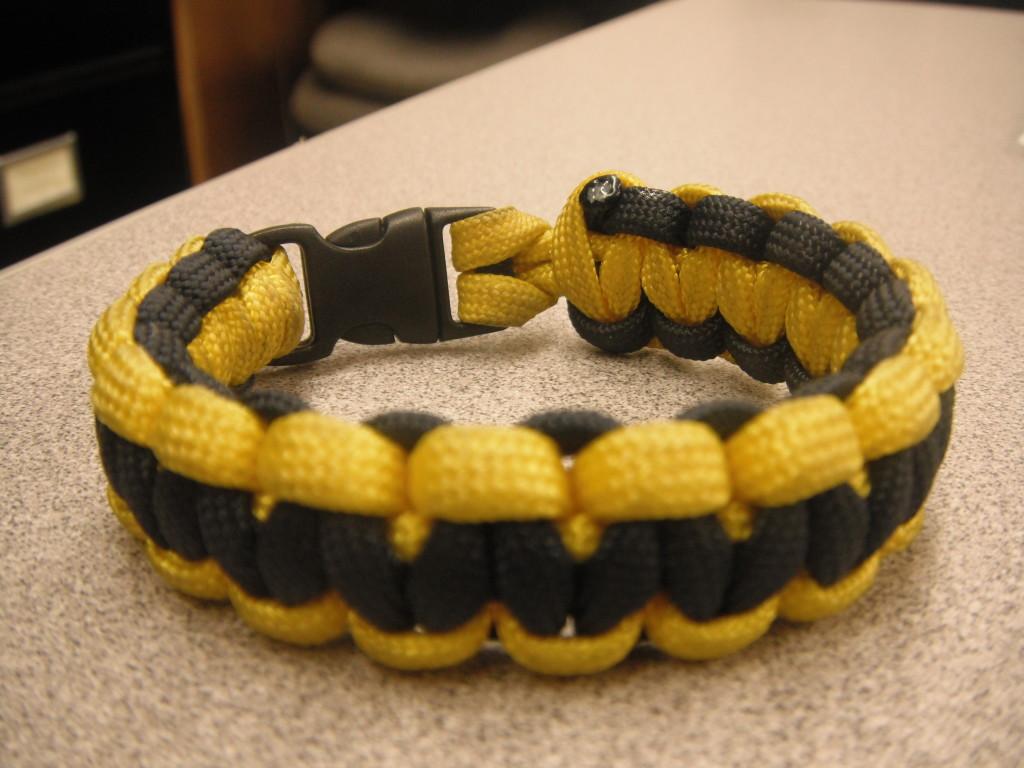
A parcaord bracelet is a bracelet made out of parachute strings. They are called 550 paracord bracelets because they can hold up to 550 lbs., as a parachute would.
Materials can be found online or at a military supplies store. Paracord costs 50 cents per foot, and the buckles needed are $5 for a bag of 100.
To to make a paracord bracelet, follow these steps, outlined by Hummel:
1. Pick out two colors of paracord.
2. Measure out the paracord with a ruler so there is about three feet of each color.
3. Get a match, lighter or candle–a lighter is probably easiest, but all of them work. Take both of the lengths of paracord and fuse one side together, but just the ends. It should look like this:


11. Take the left tag (end) and pull it up through left ‘C’ shape.

12. Pull both tag ends tightly together, and that is the first knot.


13. Duplicate the process starting at step 7, but switch sides each knot. Start on the side with the bigger side of the knot.
14. When finished tying all the knots, the bracelet should look like this. Now cut the remaining tags off, and where you just cut, fuse the edges. Just take a lighter and melt the little ends.

15. Now the 550-paracord bracelet is finished.
This is an easier way to making a paracord bracelet. Some are made with beads, or are tied instead of buckled for a different design. This is one of the easier ways though.
Hummel says it’s a fun thing to make and get into, and it shows because he has a collection of paracord bracelets, key chains and necklaces.